Disclaimer: This page contains affiliate links, so I may earn a small commission on direct purchases through them. Please see my Privacy Policy, etc. page for more information.
I don’t mind being busy until it negatively impacts the quality of our membership. For instance, I used to host a quarterly member orientation, but skipped a whole year because I just couldn’t find the time to make it happen! 😮
To line up some of my priorities and make something happen, I’ve refocused on creating a video series that could substitute an in-person orientation. This not only saves me a lot of time, but makes the information more accessible for my members. Win-win!
#1 – Create Your Presentation
Don’t know where to start? Look no further than your current orientation powerpoint. My virtual orientation is the literal same as my in-person presentation, it’s just broken up into smaller pieces (and online).
For every new title slide, create a different video. This will allow you to embed specific videos into emails, and lets members break up the orientation to days or weeks, or look up the one thing they wanted to do. This will also help you to spread out your editing & recording process if needed.
Videos you might record:
- What is the chamber?
- Benefits of Membership
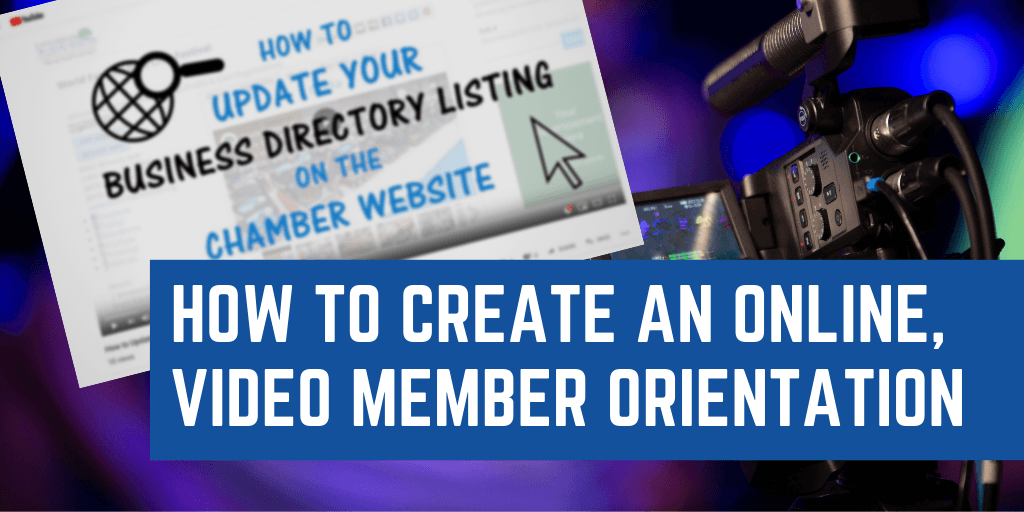
- How to Update your Directory Listing
- How to add a Hot Deal or Event to the Chamber Website
- Expand upon another specific benefit that your chamber is really good at or has a lot of sub-points.
- Chamber Successes
Once your presentation is ready, start recording your videos.
Not ready to hit record just yet? If you’re a ChamberMaster user, here’s a video you can link to, share with members, or embed on your own website. It walks members through updating their business directory in ChamberMaster’s MIC.
#2 – How to Create the Video
I used a free screen recorder to record myself going through my power point and uploaded them to YouTube.
You’ll also need a microphone. Personally, I have this headset microphone, but you could also use a stationary mic. Either way, just make sure it’s made to be plugged into to computers (for smartphones, see my Facebook Live guide).
Lastly, you’ll need a video editor. I used Premier Pro in the Adobe Creative Cloud. There’s a learning curve, but if you can use it you’ll be able to do much more than most editors. Or, if you have a Mac, I super recommend iMovie. Otherwise, there’s lots of choices online.
#3 Utilize the Videos
When uploading your videos to YouTube, I recommend grouping them as a Playlist. This allows users to find and watch all the relevant videos in one go. You should also put a direct link to this playlist in each video description. This makes it easier for current & potential to find more information about you.
One benefit of having all these videos separate is being able to embed them in your new member onboarding email series. (I highly reccomended making this a priority.)
And of course, when someone asks you how they do something, you can just send them that video!
Bonus: Repurpose the Videos
Okay, so you’ve spent all this time making these awesome videos, but the traffic is starting to die off (except when someone starts on your onboarding series), now what?
You could try:
- Repurposing a video into a how-to blog post (in fact, that’s literally what this article is). This is as easy as typing out everything you explained, and adding some key screenshots where needed. Turn this into a blog post series, scheduling them a week or month apart.
- Create webinars – combine your videos into one, then host it as a ‘live webinar.’ This will save you a ton of time in preparation, and you’ll only have to respond to comments/questions. Why it works? Hosting them at a specific time helps member prioritize actually getting the information. (Deadlines = 💣)
- Create ads to promote your youtube videos (or blog posts) on other platforms. These should be static images or videos under a minute long, as long videos don’t perform on other sites as well as YouTube. Add these links to your evergreen social media scheduler so you can set it & forget it.